Ubuntu Desktop on iPad - Raspberry Pi 4 Setup
In this post we'll:
- Setup an Ubuntu Desktop environment on a Raspberry Pi 4
- Connect the Pi over USB-C to a compatible iPad
- Configure TigerVNC for a smooth remote desktop experience
A quick note to start: at the time of writing this I was unable to get stock Ubuntu Desktop to work with the USB OTG ethernet configuration. Although Network Manager will happily bring the usb0 interface up, I can't get it to bring said interface up automatically at startup. This is pretty much essential for the USB-C Pi/iPad combo. As a workaround, we'll start with Ubuntu Server, which uses Netplan rather than Network Manager, and install the Ubuntu Desktop environment manually.
Initial Setup
Start by burning Ubuntu Server on to an SD card using Raspberry Pi Imager.
Download the latest version of my Ubuntu Server image from the Github Release Page. These images have the necessary configuration for the USB-C ethernet configuration already baked in.
In RPi Imager, click Choose OS and then scroll to the bottom to bring up the Custom image option.
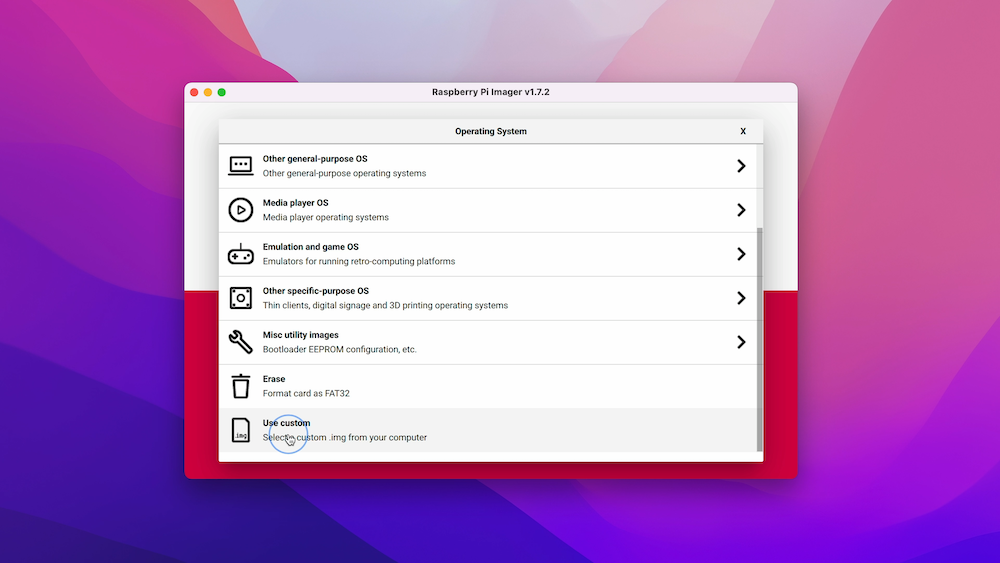
Navigate to the downloaded image and select it. Insert your SD card of choice, click Choose Storage and select your SD card. Before clicking Write, click the cog in the bottom corner and be sure to set at least a hostname, username and password, and to be sure to enable SSH.
I recommend also setting up WiFi here for simplicity and as a backup in case the USB-C connection plays up.
Now click Write. Once the SD is written, pop it into the Pi and connect the Pi and iPad.
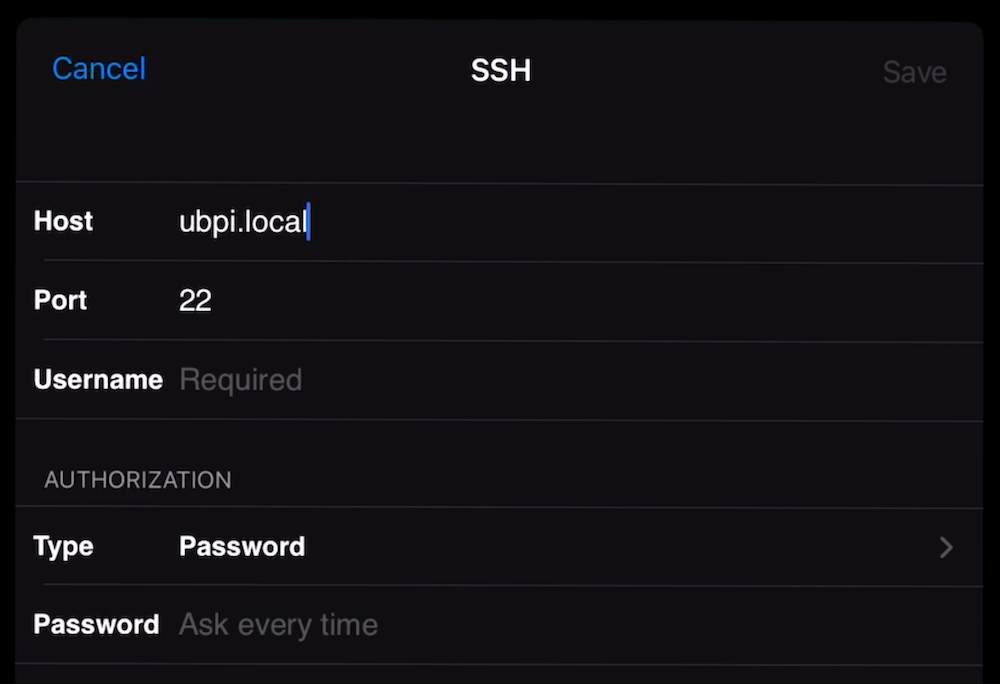
For the next few steps you'll need to connect to the Pi over SSH using a client like Blink Shell or Secure Shellfish.
In Blink, with the hostname of the Pi set to ubpi.local and the user set to pi, I run:
ssh pi@ubpi.localInstalling Ubuntu Desktop
Now it's time to install Ubuntu Desktop. This is pretty simple, just install the ubuntu-desktop-minimal package:
sudo apt install ubuntu-desktop-minimalThis can take 10-15 minutes so don't worry if it appears to be crawling along!
Installing and Configuring TigerVNC
With the Ubuntu Desktop installed it's time to setup TigerVNC.
First up, install tigervnc-standalone-server:
sudo apt install tigervnc-standalone-serverConfigure your VNC user
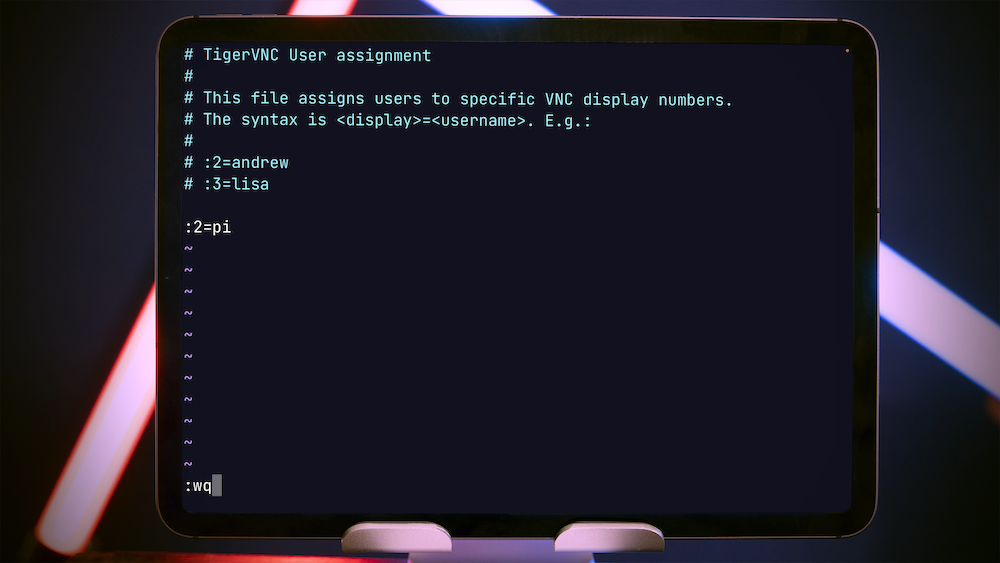
Now edit /etc/tigervnc/vncserver.users adding :2=<username> on the last line, replacing <username> with the name of the user you created when burning the SD card.
Create a VNC password
Next, create a password for VNC with vncpasswd. You'll be prompted twice for the password. You can safely choose to skip creating a view-only password.
Control VNC session startup
TigerVNC needs to know what desktop environment to launch when a VNC session is started. We can control this using $HOME/.vnc/xstartup which should contain these lines:
#!/bin/sh
[ -x /etc/vnc/xstartup ] && exec /etc/vnc/xstartup
[ -r $HOME/.Xresources ] && xrdb $HOME/.Xresources
vncconfig -iconic &
gnome-session
Make this file executable with chmod +x $HOME/.vnc/xstartup.
Start the VNC session
Start the VNC session using systemctl:
sudo systemctl start tigervncserver@:2If you want to start your session when the Pi boots use systemctl enable too:
sudo systemctl enable tigervncserver@:2Connecting from Jump Desktop
You'll be able to use any VNC client capable of connecting over an SSH tunnel. I'm using Jump Desktop.
In Jump, create a new connection by clicking the plus icon in the top right.
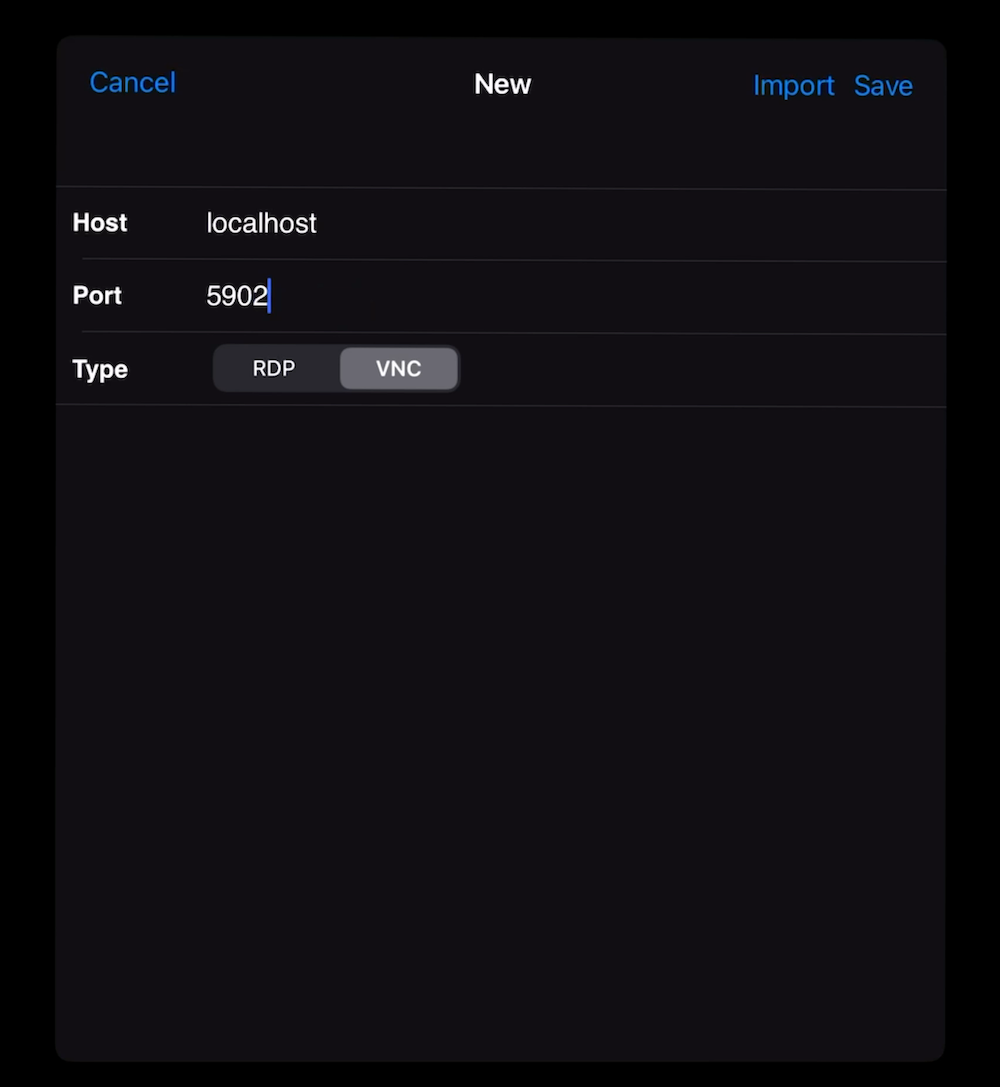
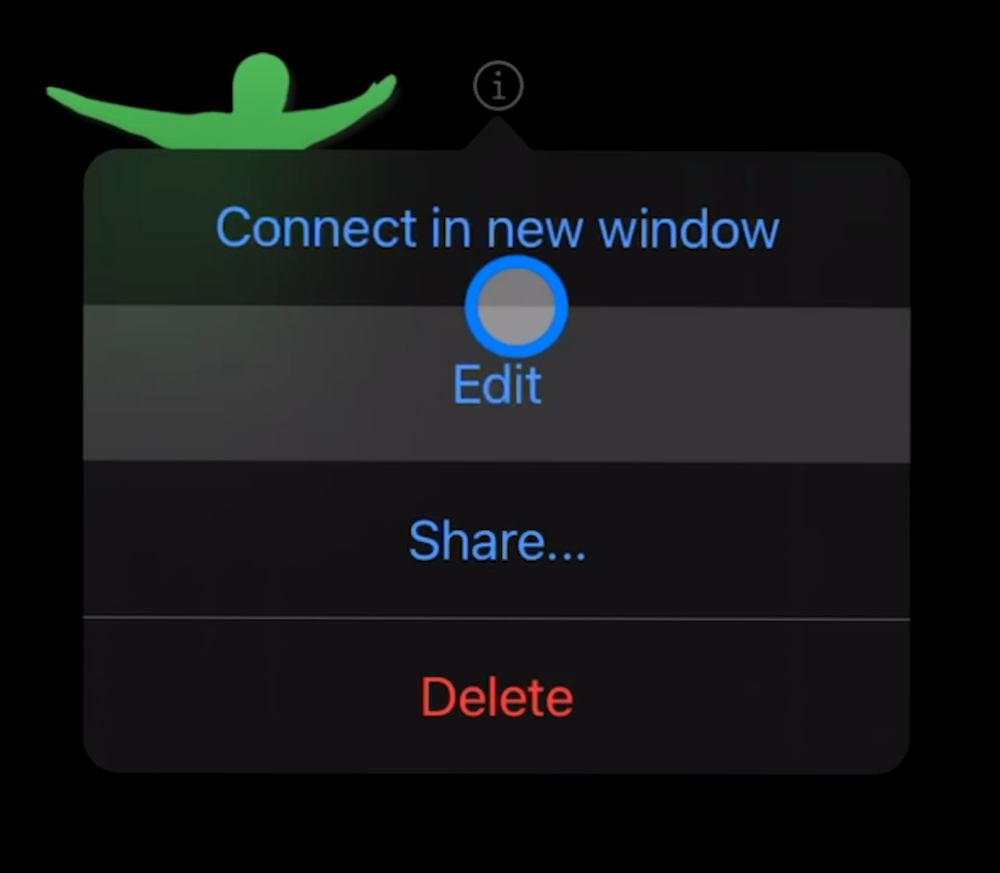
Set Host to localhost and Port to 5902. Now, click on the small 'i' icon in the top-right of the host box and select Edit.
Scroll to the bottom of the edit window and press SSH Tunnel then press Add SSH Server.
Set Host and Username to be the hostname and username you set when burning the SD card. Click Save.
Finishing up
Now you can connect to your VNC session by tapping the icon for the newly-created host profile. You'll need to enter your SSH password followed by your VNC password.
Once you're connected, you will need to complete a brief setup wizard. Most steps can be skipped and you must skip the WiFi setup step so that Network Manager doesn't take over from Netplan.
Check out the video for more details and some extra tweaks to refine the desktop experience.