Raspberry Pi iPad Pro Setup Simplified
Following on from my recent Raspberry Pi / iPad Pro setup video, a viewer pointed to a simpler configuration using Zeroconf. In this video, we take a look at what Zeroconf is, how it works and how it simplifies the Pi/iPad setup.
Setup Guide
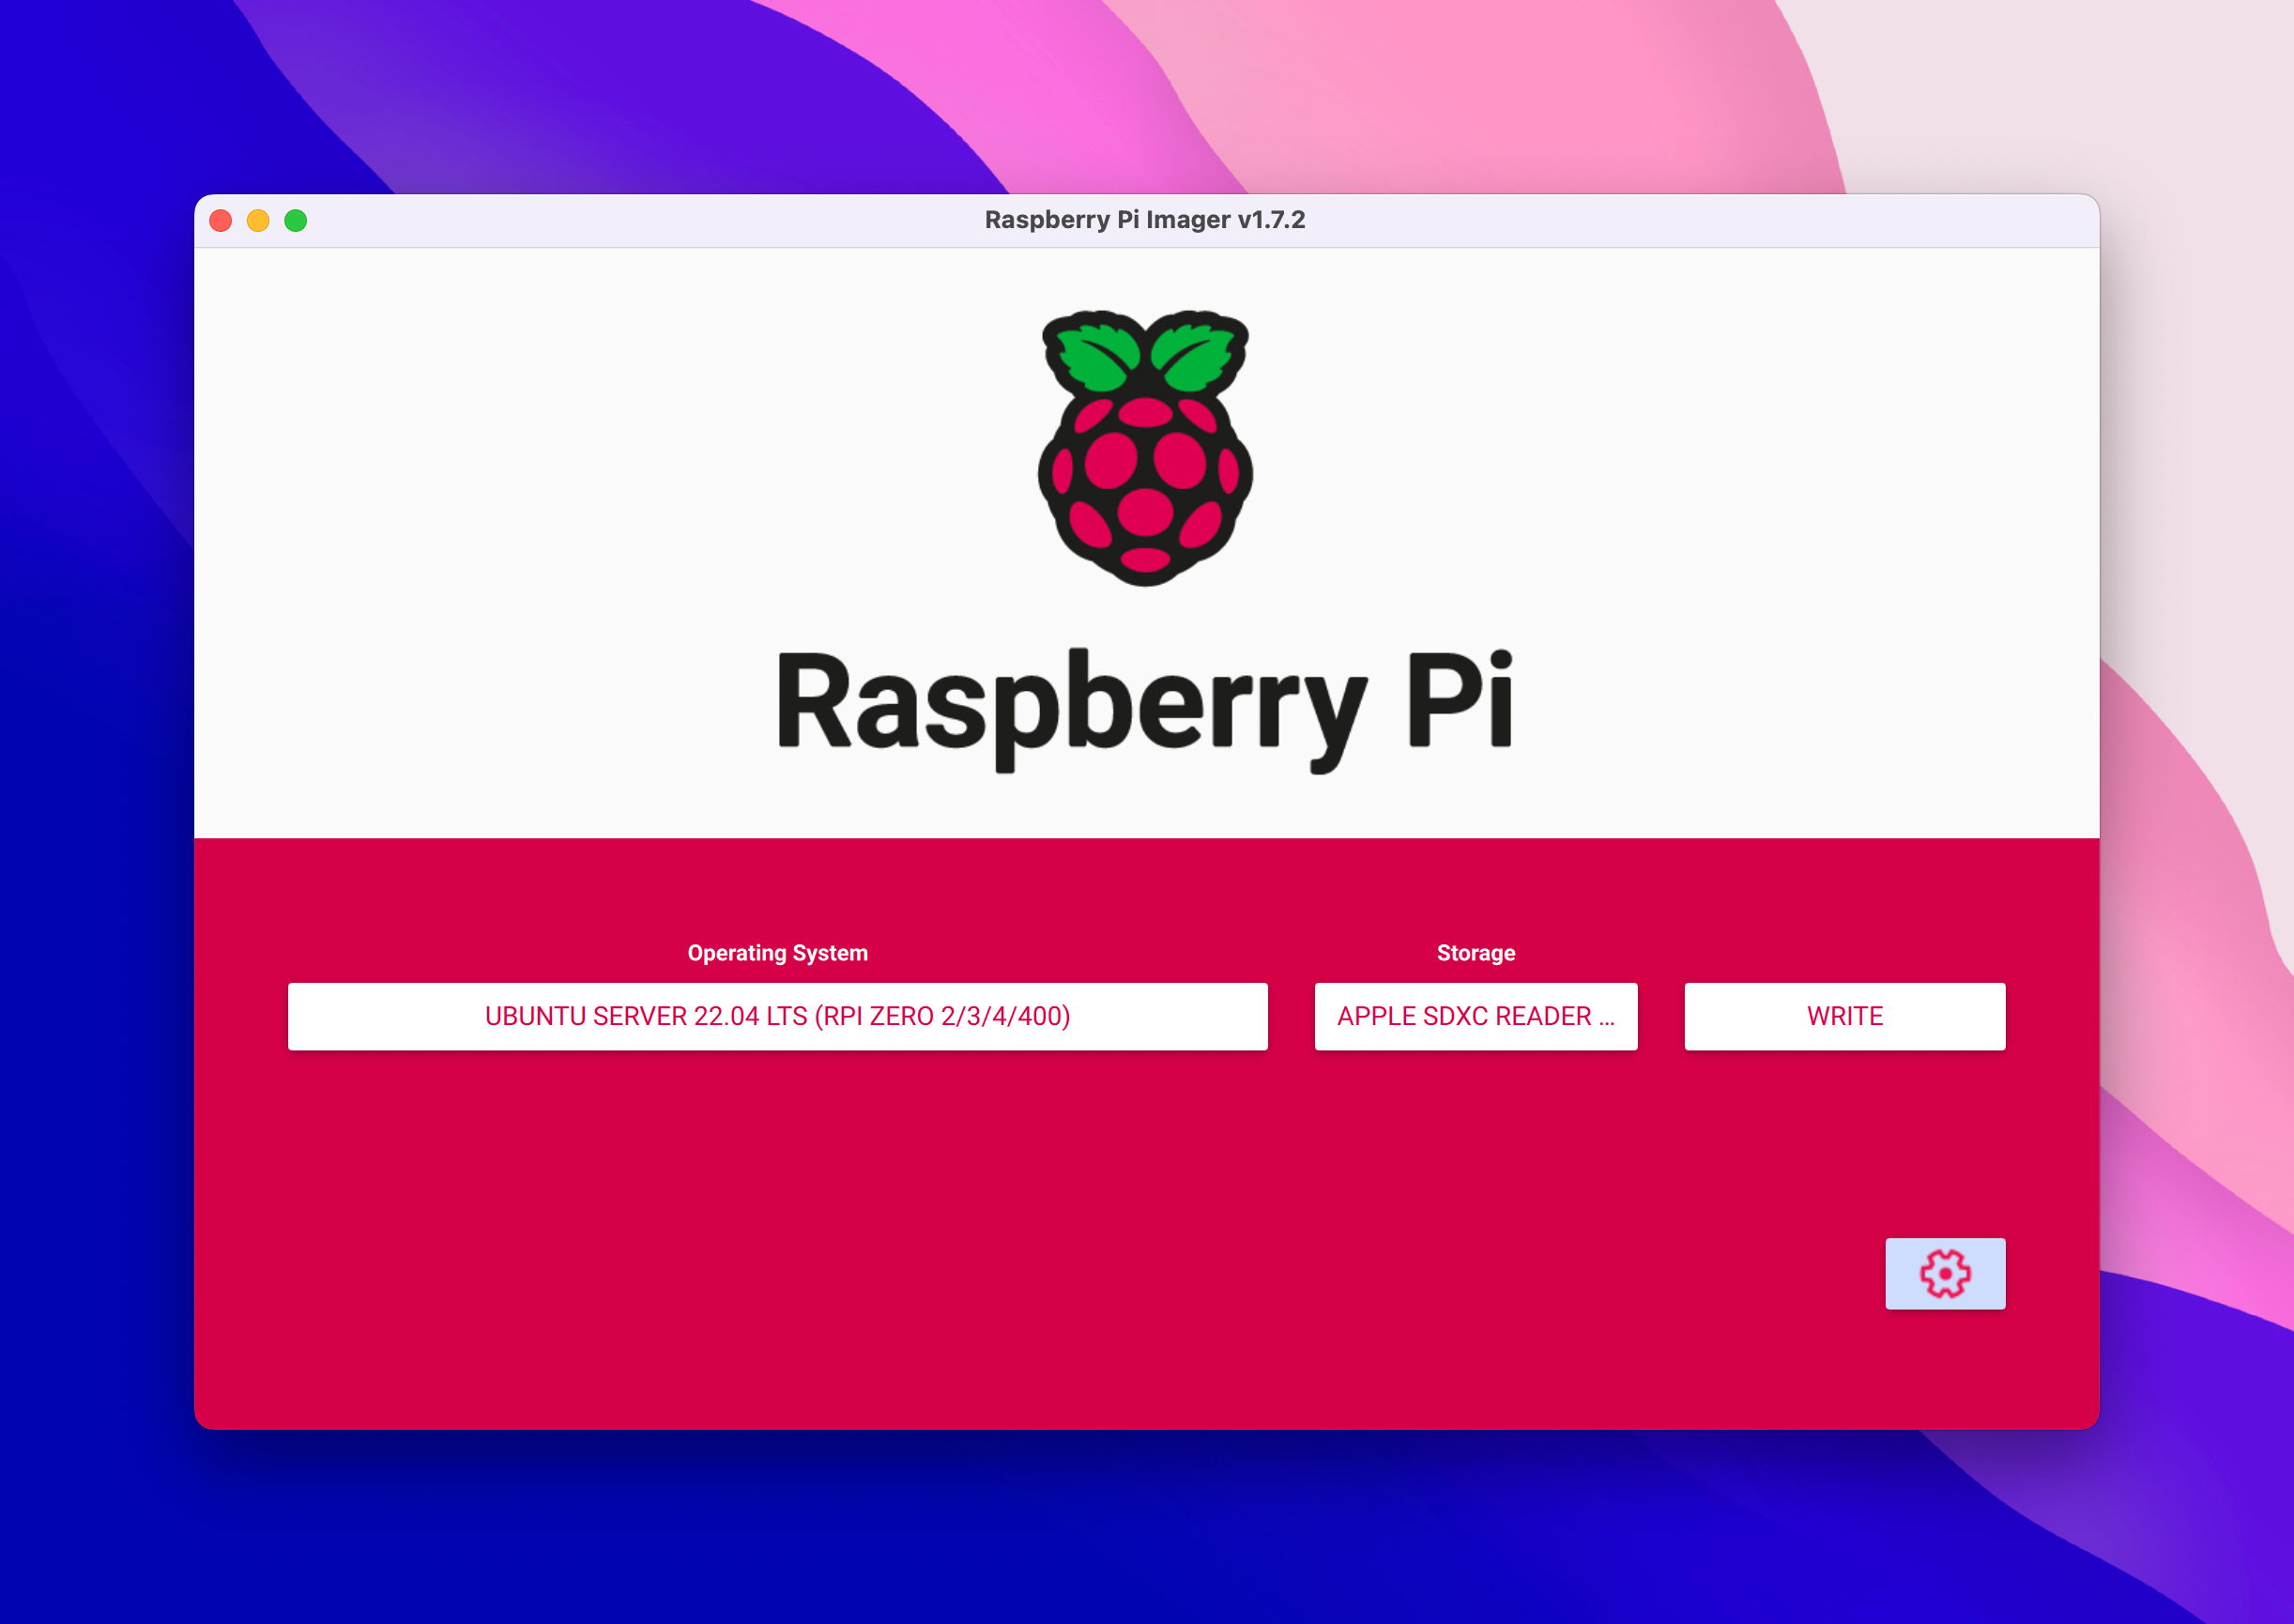
Start by burning either Ubuntu Server or Raspberry Pi OS on to an SD card using Raspberry Pi Imager.
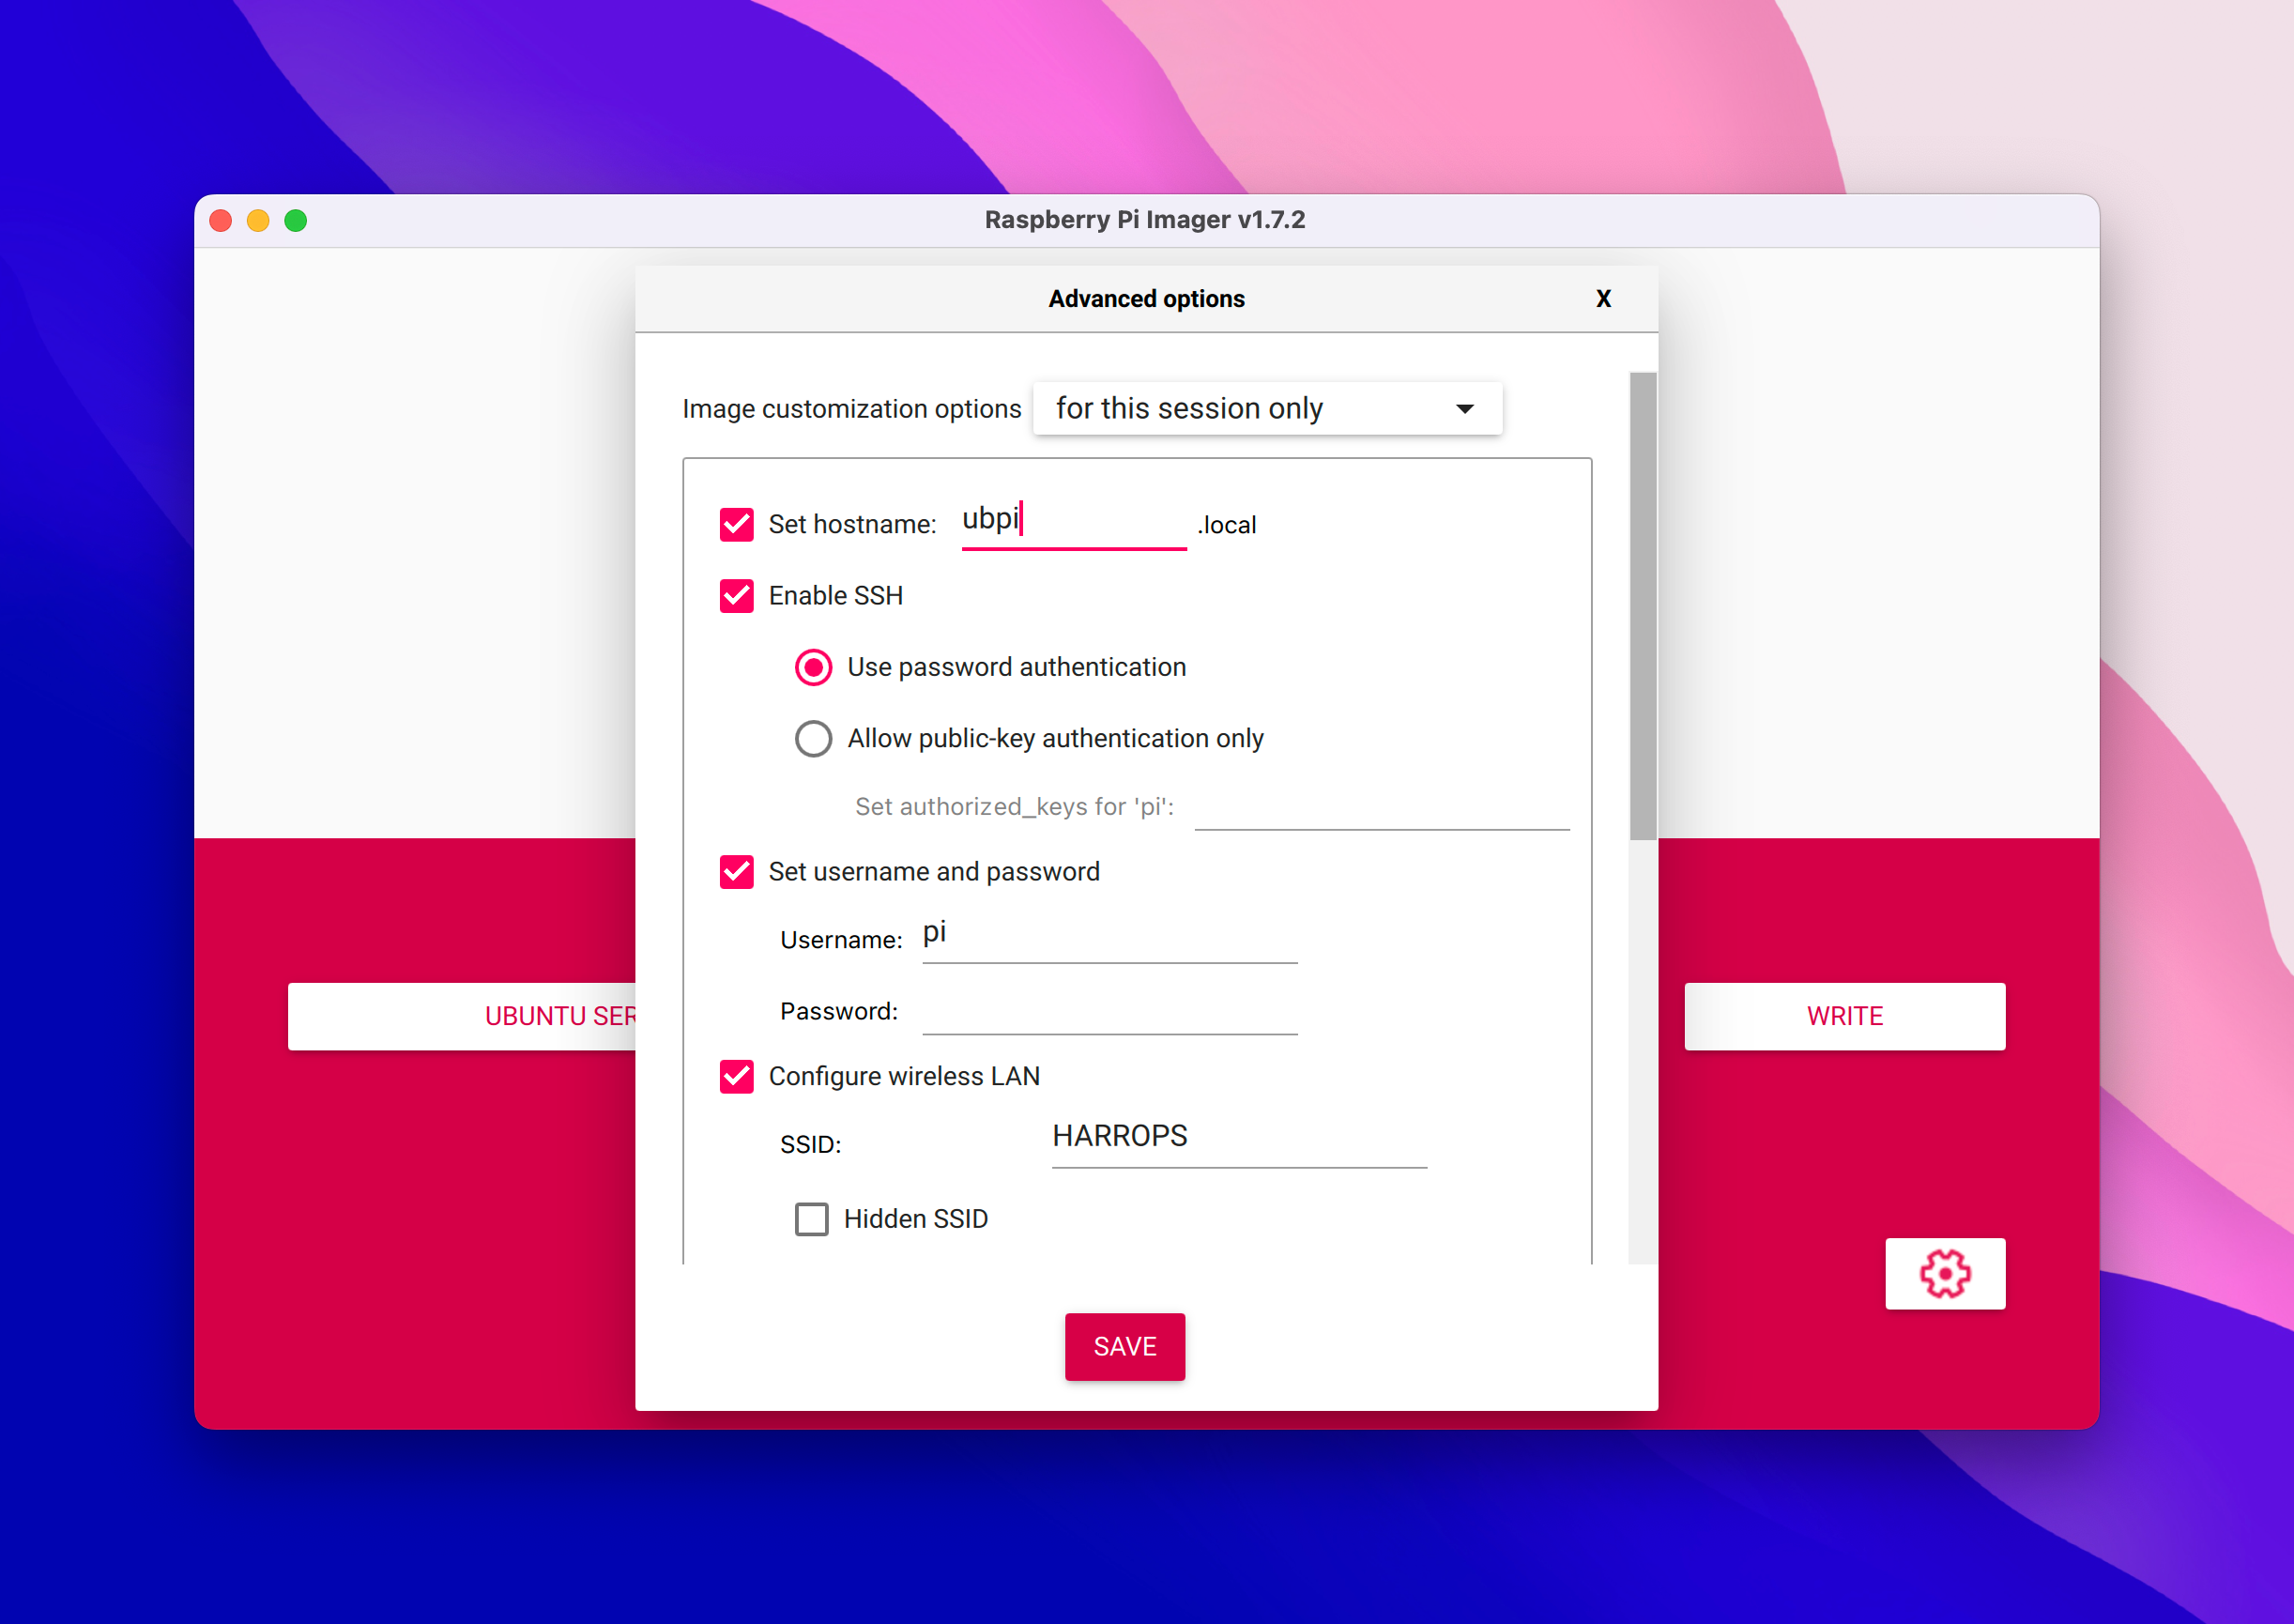
Before clicking Write, click the cog in the bottom corner and be sure to set at least a hostname, username and password, and to be sure to enable SSH. I setting up WiFi as a fallback in case you have problems with the USB setup.
After the image is burned, pop the SD card back into the machine if it has been ejected. Inside you'll find two files config.txt and cmdline.txt
In cmdline.txt add modules-load=dwc2,g_ether just before rootwait - make sure there's a space before rootwait.
In config.txt add dtoverlay=dwc2,dr_mode=peripheral as the last line.
Ubuntu Network Setup
Ubuntu doesn't bring up the usb0 interface by default. You can fix this like shown in the video by adding a Netplan configuration after startup. However, it's also possible to tweak the SD card before first boot.
In the network-config file you'll find a config snippet for your wifi. Add a configuration for usb0 as shown:
version: 2
wifis:
  renderer: networkd
  wlan0:
    dhcp4: true
    optional: true
    access-points:
      "ACCESS_POINT":
        password: "some-gibberish"
ethernets:
  usb0:
    link-local: [ ipv4 ]
Connecting from the iPad
Connect the Pi and iPad over USB-C and after a while you'll see the Ethernet adapter pop up in Settings. If the config is correct, you'll see the iPad gets a 169.254.*.* IP address.
To access the Pi over SSH (or any other network service), you'll need to use the hostname you set when customising the SD card image.